

Typography means playing with text.Today we are going to show you the simplest tutorial in typography.In this tutorial we are going to overlay some of your favourite words over your image.This is the basic typography tutorial for beginners,In this tutorial we will also teach you how to create your own brushes.So lets start:
►Step 1
Open the image you like to give typographic effect.
I prefer close up images will be better for this tutorial.Name the layer as “Model”

►Step 2
Now only cut out the face part of the image or delete the part you didn’t want to give typographic effect.Then you will get an image something like below one.

►Step 3
Now create a new layer below the “Model” layer.And name it as “Wall“.Fill the “Wall” layer with “#ffffff” color.

►Step 4
We are going to Desaturate the image file so select “Model” layer and press “Ctrl+Shift+U” or you can Desaturate it by going to “Image→Adjustments→Desaturate”

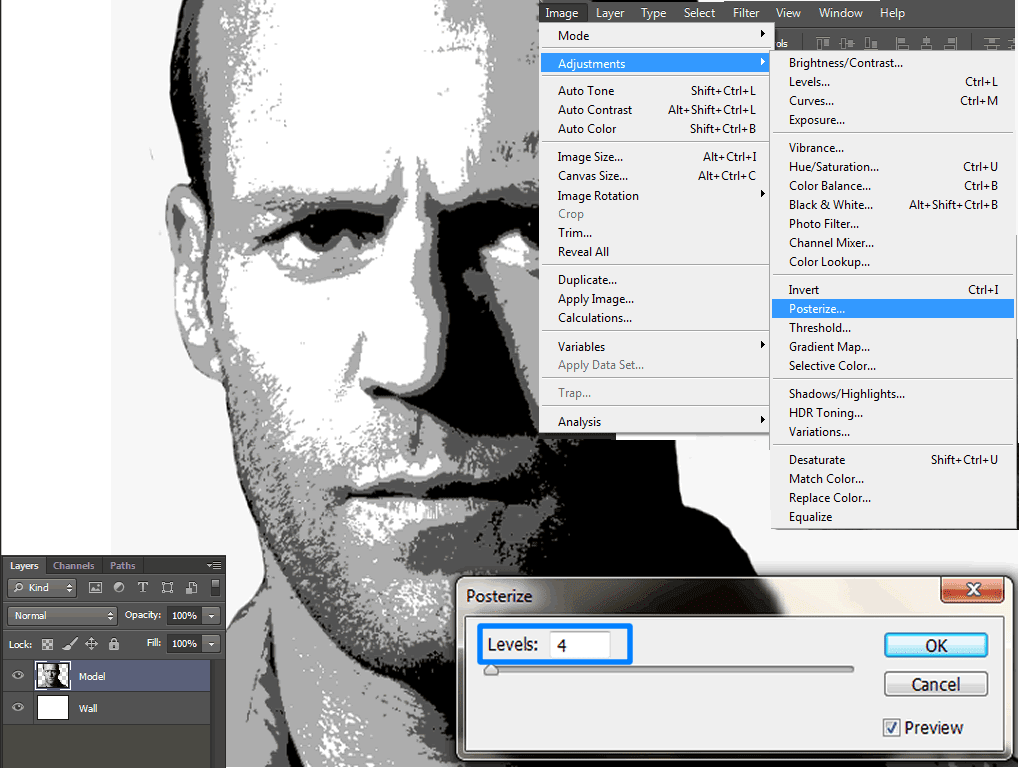
►Step 5
Again go to “Image→Adjustments→Posterize” and set the value as “4“.
►Step 6
Hide “Model” layer for a while.
And using Type Tool with any font and color “#000000“,type some words that you want to appear on your image.

►Step 7
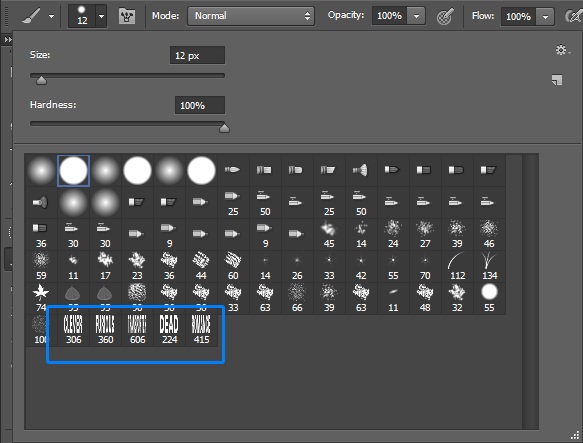
Now we are going to make some brushes.
Focus on your Text layer and with the help of “Rectangular Marquee Tool” select the first word.
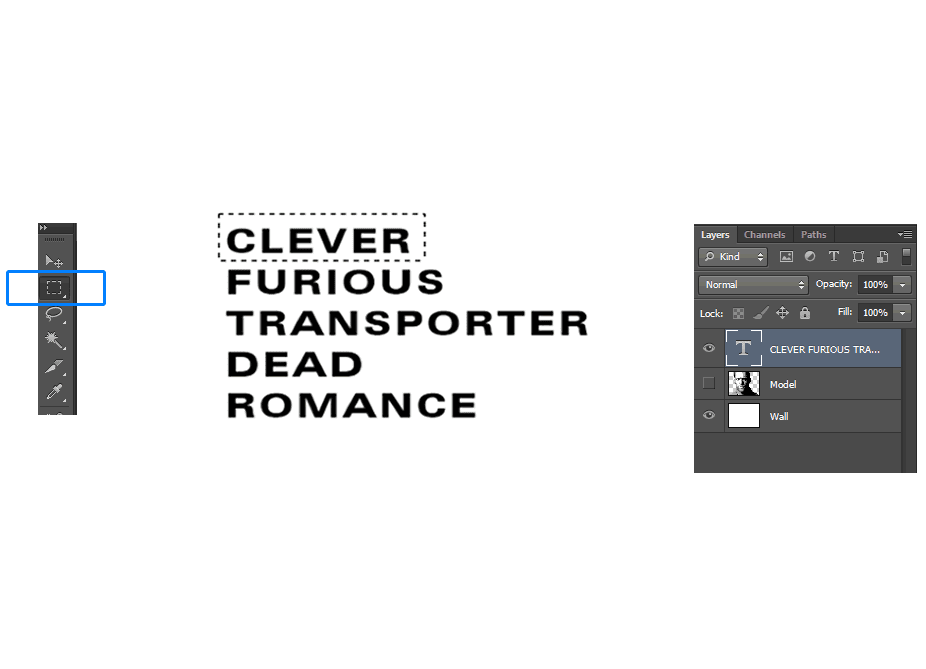
After selecting the first word go to “Edit→Define Brush Preset” and then name your new brush.

Similarly select other words and create brushes for them too.So here i created 5 different brushes for my 5 words.
►Step 8
Now delete Text layer and Unhide “Model” and “Wall” layers.

►Step 9
Now we are going to select each type of shades in “Model” layer.
So with the help of “Rectangular Marquee Tool” we are going to select all the black color area in “Model” layer.
So first select a small portion of black color like below image.
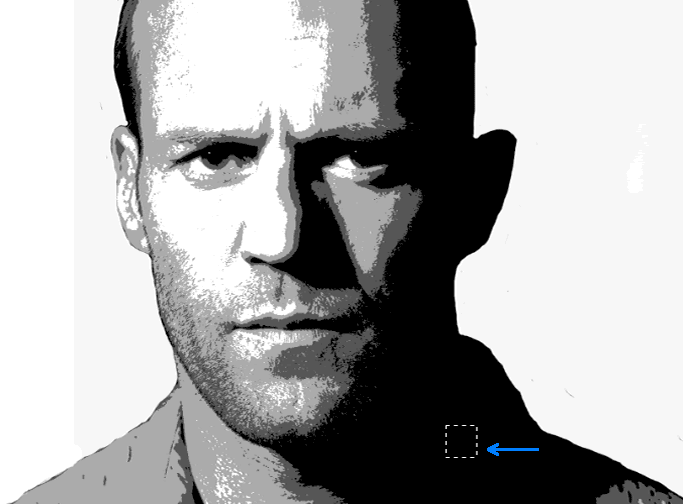
Then go to “Select→Similar” and you can see that all black colour region on “Model” layer are selected

►Step 10
Hide “Model” layer leaving the selection loaded.
And create a new layer above “Model” layer and name it as “Typo“.And you will get something similar to below image.

►Step 11
And here we are going to use those brushes that we created in Step 7.
Focus on newly created layer-“Typo” and brush those words with different size on those selected area.
You can select the brush model and change its size by Right-click on any part of document.
And you will get something similar to below image.

►Step 12
Like that select a small part of another shade and and brush it.And brush the entire image with words.
And now unhide “Model” layer and adjust its colors and make blend mode as “Luminosity” and you will get an image similar to below one.

►Step 13
Just fill the “Wall” layer with different color.And you will get your typographic portrait like below one.

And we are done here.I hope you all like this tutorial.This is the most easiest method of overlaying text over your images.If you have any doubts comment below.
And also don’t forget to comment which type of tutorials you like to see from us.