Difficulty : Beginner
Estimated Time : 15 Minutes
Software : Photoshop CS6
►Step 1:
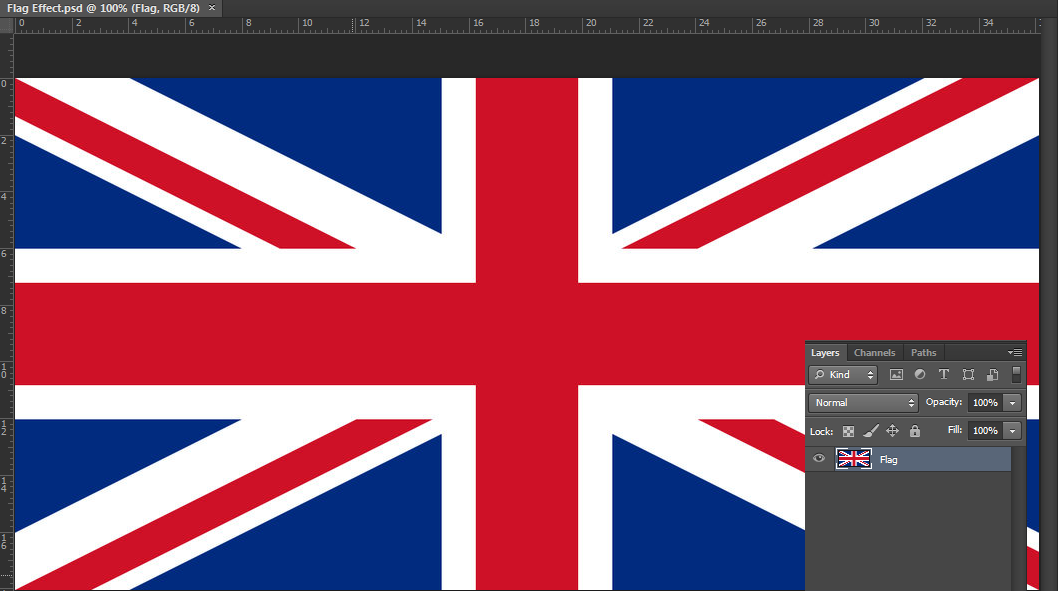
Open your flag image with photoshop And rename the layer as “Flag“.And save your file as “Flag Effect.psd“.
►Step 2:
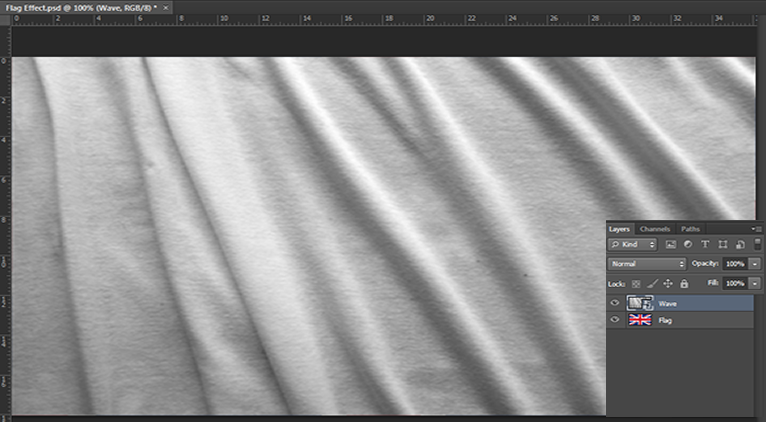
Now create new layer and Place [File → Place ] fabric image you have.You can get one from by googling.Or use mine.[Fabric 1 , Fabric 2] And rename the layer as “Wave“.
►Step 3:
Now select “Wave” layer and first “Right Click → Rasterize Layer“.
Then go to “Filter → Stylize → Emboss” set the values as you feel appropriate.
►Step 4:
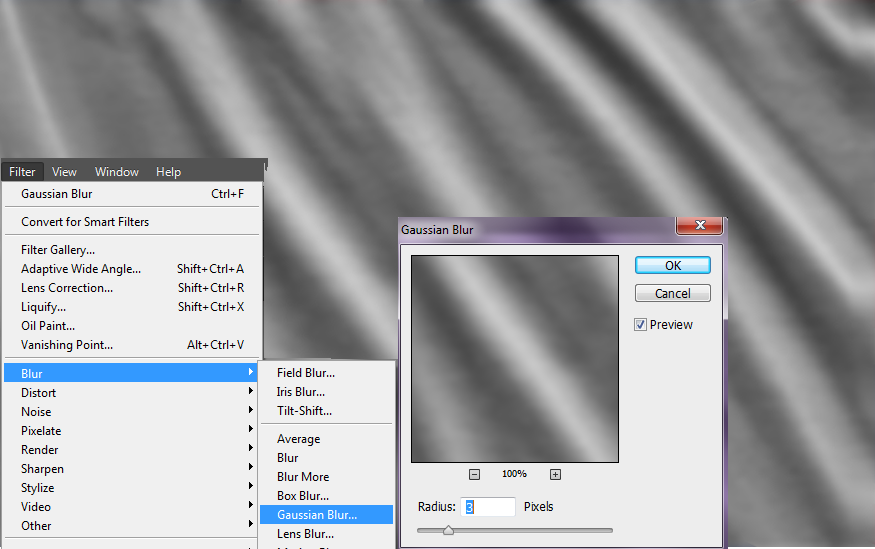
After that go to “Filter → Blur → Gaussian Blur “and set the value as below.
►Step 5:
Now again choose “Wave” layer and then “Right Click → Duplicate Layer” .
Then a new window will appear.Set the values of new window like below screenshot.Then you you will get “Wave” layer in a new tab.
►Step 6:
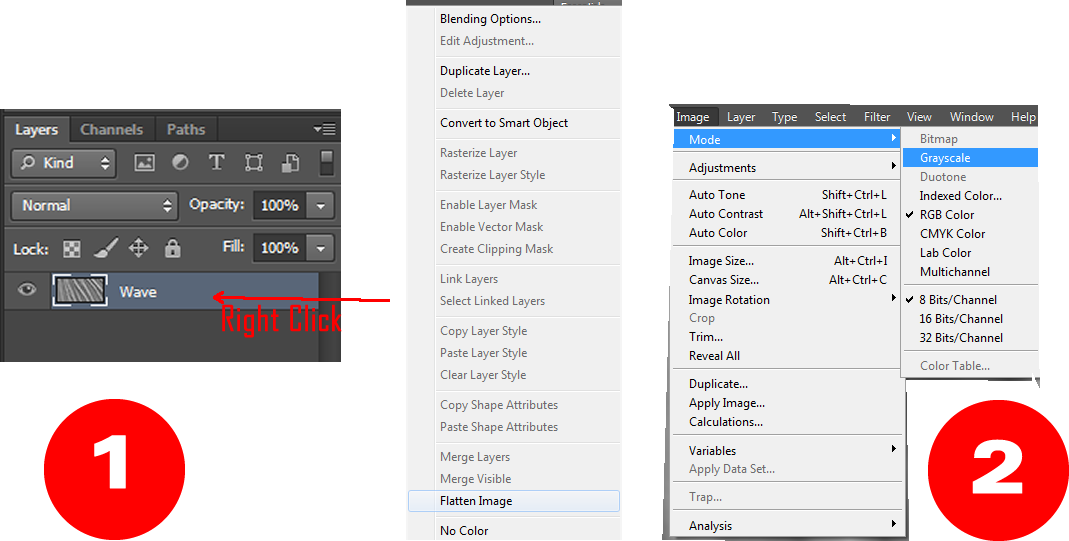
In the new tab First “Right Click the layer → Flatten Image”
After that apply “Image → Mode → Grayscale“.Save the file as “Flag Map.psd” and close the tab.
►Step 7:
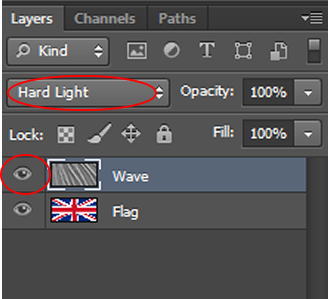
Now back to our “Falg Effect.psd“.First hide the visibility of “Wave” layer and then select “Falg” layer.
►Step 8:
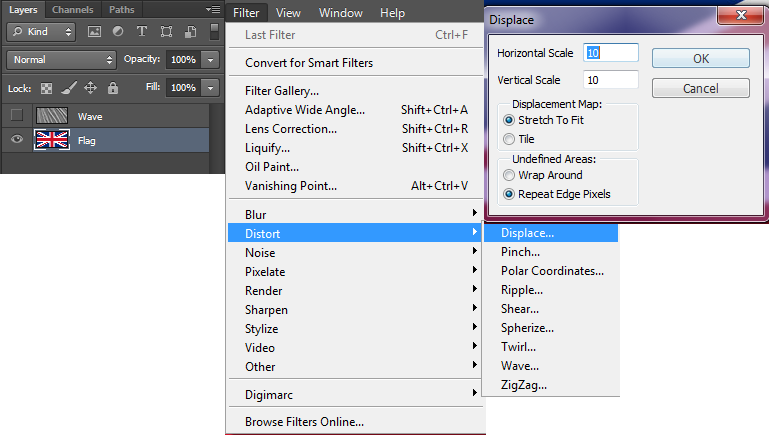
Then apply “Filter → Disort → Displace“.And set the values like below and finally it will ask for displacement image,then browse to “Flag Map.psd” file that we saved in Step 6
Repeat the above Displace Step 2-3 times by changing horizontal and vertical scale values to get more waving effect to your flag
Now you will get a disorted image of your flag.
►Step 9
Now turn on the visibility of “Wave” layer and then make its Blend Mode to “Hard Light“.
Then you will get a waving flag like below image
►Step 10:
Now you can make it more attractive by adjusting its lightning levels.So adjust levels as you like by going to “Image → Adjustments → Levels“.
Then your final image wil look like this:
I hope you all like this tutorial.This is the most easiest way to create a waving flag in photoshop.So if you have any doubts comment below.We will be back with another tutorial soon. 🙂


