Finding the right background to complement your subject is more than just trusting your instinct. The process should be approached consciously and carefully, because the background, as we all know, can make or break a photograph. So how do you approach the question of choosing a background for a photograph? Today, we’re going to give you some valuable tips to help you choose the perfect background. You can also experiment with ready-made frames and use the AI Background Remover Extension in the Luminar Neo photo editor.
Contents
Don’t Be Afraid To Experiment
Let the photos of famous masters help you get inspired! Imitating, in the beginning, a master whose photos you like, you can get an interesting effect on your first image, and understand and realize the nature of light work only after several months of hard work.
Try experimenting with black backgrounds and natural light:
- If you are indoors, find a window and place your subject so that the light falls on his face from the side.
- Direct sunlight should be avoided, and bright light should fall in front of the subject.
Remember a little trick. All people look more expressive against a black background. If you take a picture of a child, take a portrait with a grown-up wearing dark clothes, and you’ll see how much more expressive the child will look in your picture.
Remove All Distractions
How many times have you looked around your subject and been unhappy with your surroundings? It could have been due to a sloppy home interior, an unremarkable yard, or a poorly chosen wall color in the room. At first glance, many photoshoot locations are quite boring, but there is always a way to improve them. Think about what your camera sees.
Try changing the position of the viewfinder, looking higher or lower, farther or closer, straight or at an angle. Analyze what appears in the viewfinder and how the picture changes. You can get rid of background distracting objects by cropping them (overlapping them or removing them from the composition altogether). This will help you get the shot you want.
Use More Existing Backgrounds
When you don’t have a large enough exposure gap between your subject and the background, you can cheat by using dark or light composition elements as backgrounds. They will either absorb unnecessary light, protecting the lens from too bright a reflection or vice versa, enhance too little light. And you can easily get the effect you want.
Look around – most often a good background is either light or dark walls. A white background and a black velvet dress go well together. If you use a white or black shirt as a background when taking a picture of a child, you can get great results.
Eye color intensifiers have always been considered a great technique in portrait photography. You can accentuate the look with different backgrounds. A little experimentation and you will know exactly how you should turn your model to make her eyes shine and become more vivid.
Another simple but effective way is to increase the distance between your subject and the background. First, it increases the blurriness of the background, as noted earlier, and second, it increases the likelihood that the background will be white or black, according to the previous two points. In this way, you can add depth to the portrait you create, making the image more visually interesting.
Hit the Light
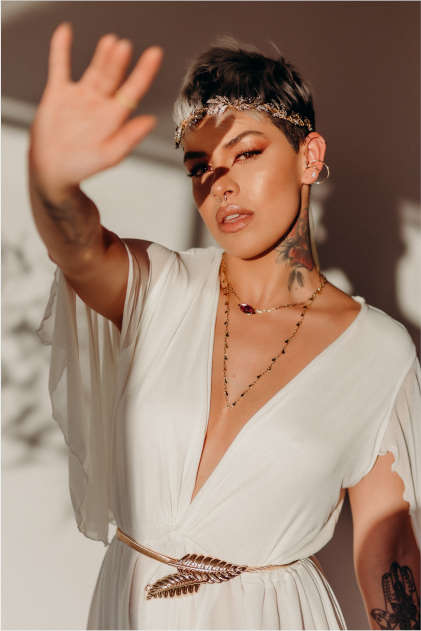
If there are sunspots or blurred highlights in the background, it can make it nice and interesting to see. Catastrophe happens when spotty sunlight falls on the model’s face. Sometimes this technique can be used intelligently, deliberately achieving an interesting effect. If you approach the question cautiously, it’s worth trying to use bright sunlight streaming through the trees. It often helps to take amazing pictures.
Many of you, when you learned the art of photography, have understood that the glare of light in pictures is the result of poor compositional technique and often photographers avoid it in their work. But sometimes glare can be used intentionally. In this case, it is more convenient to work with inexpensive lenses, because their expensive counterparts are designed to reduce the likelihood of light artifacts:
- To take a picture with highlights, position yourself so that the sun is at the side of the frame.
- Under no circumstances point the lens directly at it, as this could ruin your eyesight.
- Use inexpensive lenses, and this will give you more highlights.
This will add a twist to a shot with a dull background or hide something that distracts the viewer from the center of the composition.
Look Up or Down
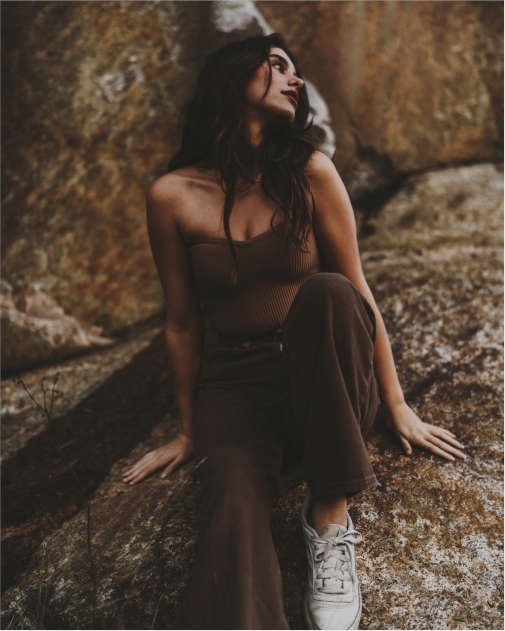
In most situations, if you look up or down at an object, you can get a great background. You can sit on the ground, kneel, or squat. It would even be appropriate to climb a tree or stand on a chair or bench. Thus, you can use the sky or tree foliage as a great backdrop. This will help to broaden the horizons in the photo a lot and get an interesting effect.
You can quickly adapt to different lighting and a variety of compositions, but keep in mind that most of the methods above work best with one or two objects. As soon as there are more of them, you will have to re-adapt.
If in the process of editing, you realized that the selected background does not suit you, it can always be corrected. Just use the AI-based extension in the modern photo editor Luminar Neo and in just a couple of minutes you’ll get the perfect result!


