Unquestionably, color correction, and color grading are the two most important steps for the production of high-quality videos. The way you manipulate the color of your footage can instantly change the mood and overall message that you want to deliver from your video. Over the years the misconnection that color grading is a difficult task and takes years of practice has developed among upcoming filmmakers, video editors, and all sorts of content creators.
Luckily, that’s not true. However, finding out a video color grading software that is easy to use and offers professional results is a difficult task. Well, if you are facing this difficulty, then two check the prominent Filmora9 Video Editor.
In this article, we have shared some details about the color grading capabilities of Filmora.
Contents
Color Grade Videos Using Filmora
There’s no denying the fact that Filmora is one of the easiest and most feature-packed video editing software out there. Many famous vloggers and YouTubers use Filmora to produce high-quality videos. In comparison to complex color grading programs like DaVinci Resolve or Premiere Pro, Filmora is quite simple to use. Moreover, it doesn’t consume much system resources and performs really well, even on low-powered laptops and aging desktops.
So here’s how you can color grade videos using the Filmora video editor.

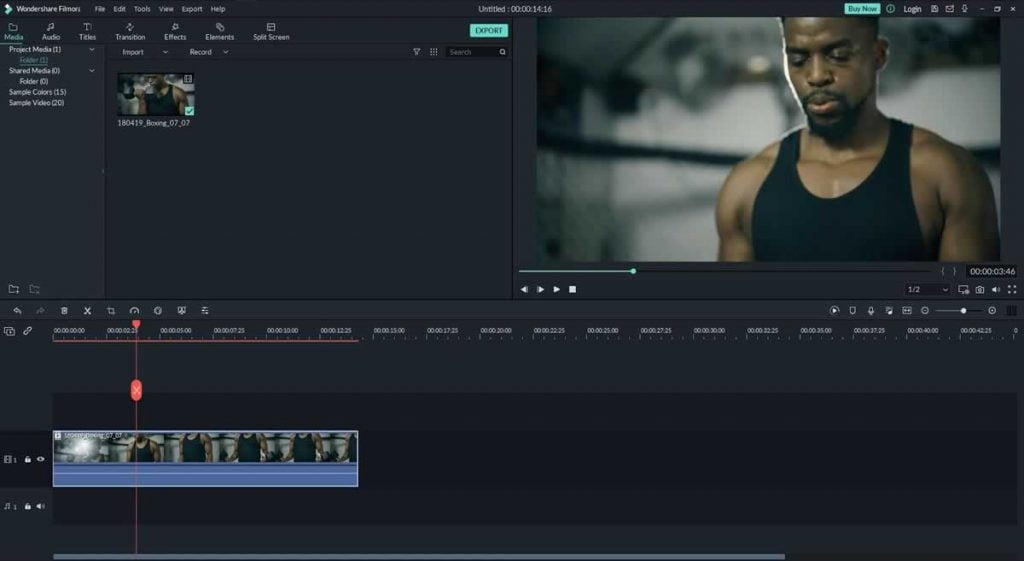
STEP 1: Similar to every other video editing project, to color grade a video, you have to first import your footage into Filmora. To do so, you can either drag and drop your videos or simply use the import button option.

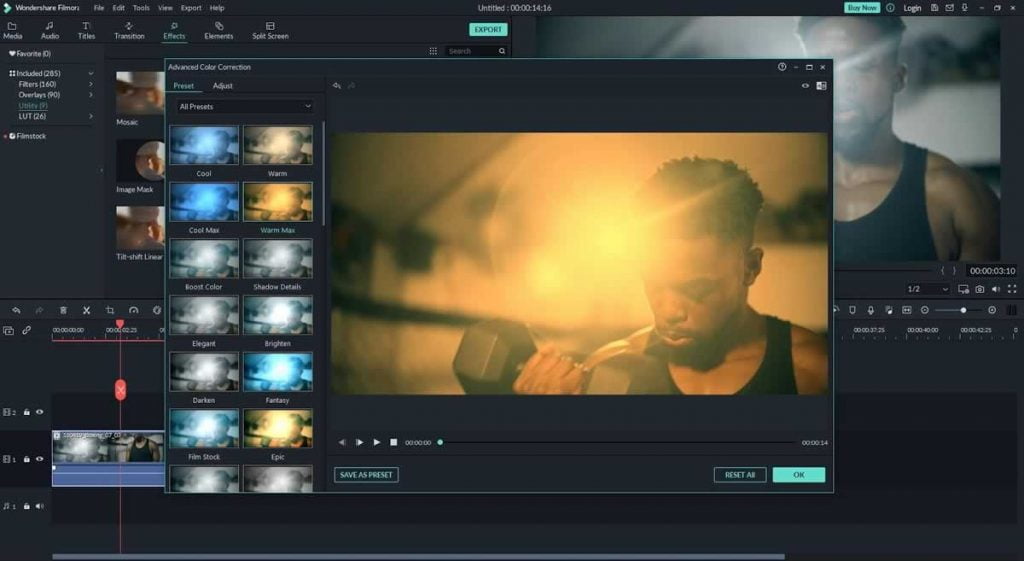
STEP 2: Once the footage is on your timeline, locate the color tuning tool in the timeline menu. Based on your preference, you can now either select a preset or manually manipulate the colors of your video. Finally, click “OK” to save the changes to your video.
Once your edits are completed, you can directly upload your edited footage on video-sharing platforms like YouTube and Vimeo. Filmora automatically optimizes your exported video files for these platforms, and while doing so it pays great focus on offering the highest quality video output.
The Five Best Color Grading Features Of Filmora
In no particular order, these are the five best color grading features of Filmora.

1. White Balance
Using two simple sliders in Filmora, you can effortlessly control the White Balance of your footage. These sliders will help you to control the temperature and tint. Consequently, use the white balance slider of Filmora to either make your footage warmer or colder.
2. 3D LUT
If you have been producing videos for quite some time now then you would have definitely come across the term Look Up Table or often abbreviated as LUT. 3D LUTs make the process of color grading very time efficient. Furthermore, they can help you achieve a certain look without having to adjust individual settings. Luckily, Filmora supports 3D LUTs and there are many great pre-installed LUTs in Filmora.
3. Color
The dedicated color section in Filmora can help you control aspects like videos’ exposure, brightness, contrast, vibrance, and saturation. A perfect combination of these effects will yield professional results.
4. HSL
Using Filmora you can manage the Hue, Saturation, and Luminance of individual colors. Changing the hue will offer a unique look to your videos. While saturation can help define how pronounced your color is. Lastly, luminance comes in handy for brightening or darkening a particular color.
5. Vignette
Vignette is another great feature of Filmora. It can be used to darken the sides of a video and draw the viewer’s attention to the lead character. You can control the amount of vignetting using a basic slider.
Lastly, Filmora can be used on both Windows 10 and macOS Big Sur desktops and laptops.
