

If you are a Ubuntu newbie, then this post about basic Ubuntu commands is going to help you to get familiar with the Terminal emulator.
As we all know, Ubuntu is one of the most customizable Linux distributions available today. In fact, when we heard Linux, the first thing came to our would-be Ubuntu. Almost every Linux enthusiast starts with Ubuntu when they enter the Linux world, as it’s one of the chosen Linux distros for beginners. And this post is for those Ubuntu beginners. Here we are going to list some important basic Ubuntu commands every beginner must know.
I think Ubuntu’s incredible flexibility is due mainly to its powerful shell, which is at the core of all Linux variants. Through the user-friendly “Terminal” interface, you can easily interact with this shell using a wide variety of commands.
Ubuntu uses BASH as its default shell, and there are a lot of bash commands — that confuse every Ubuntu beginner. But you don’t have to learn all these bash commands if you want to be familiar with Ubuntu Terminal in your early Linux days. Otherwise, you only have to learn basic Ubuntu commands, which will help you to do some basic operations. Unlike CMD commands on Windows, here on Ubuntu and other Linux distros, we use commands to do most of our tasks.
So to do this task easier, here are the most basic starters Ubuntu commands and some Terminal shortcuts that will help you to execute commands more quickly to ease up your Linux journey.
Contents
- 1 Basic Ubuntu Commands for Beginners:
- 1.1 1. sudo
- 1.2 Apt-get Commands:
- 1.3 2. apt-get update
- 1.4 3. apt-get upgrade
- 1.5 4. apt-get dist-upgrade
- 1.6 5. apt-get install
- 1.7 6. apt-get remove
- 1.8 7. apt-get purge
- 1.9 8. apt-get clean
- 1.10 9. apt-get autoclean
- 1.11 10. apt-get autoremove
- 1.12 System Information Commands:
- 1.13 11. date
- 1.14 12. df
- 1.15 13. du
- 1.16 14. free
- 1.17 15. uname -a
- 1.18 16. top
- 1.19 17. ps
- 1.20 18. uptime
- 1.21 File Handling Commands in Ubuntu:
- 1.22 19. ls
- 1.23 20. cd
- 1.24 21. pwd
- 1.25 22. cp
- 1.26 23. mv
- 1.27 24. rm
- 1.28 25. rmdir
- 1.29 26. mkdir
- 1.30 27. cat
- 1.31 28. less
- 1.32 29. touch
- 1.33 30. nano
- 1.34 Other Essential Commands for Ubuntu Beginners:
- 1.35 31. history
- 1.36 32. man
- 1.37 33. info
- 1.38 34. <command name> -h or <command name> –help
- 1.39 35. passwd
- 1.40 36. whatis
- 1.41 37. sudo -I
- 1.42 38. exit
- 1.43 39. shutdown
- 1.44 40. clear
- 2 Ubuntu Terminal Shortcuts for Beginners:
Basic Ubuntu Commands for Beginners:
1. sudo
sudo (SuperUser DO) Linux command allows you to run programs or other commands with administrative privileges, just like “Run as administrator” in Windows. This is useful when, for example, you need to modify files in a directory that your user wouldn’t normally have access to.
Apt-get Commands:
apt-get is the one of the most important Ubuntu commands every beginner must know. The apt-get command is a powerful command-line tool used in Ubuntu and other Debian-based distributions for handling packages. It allows you to manage packages easily, making the process of installing, updating, and removing packages straightforward. Here are some essential apt-get commands:
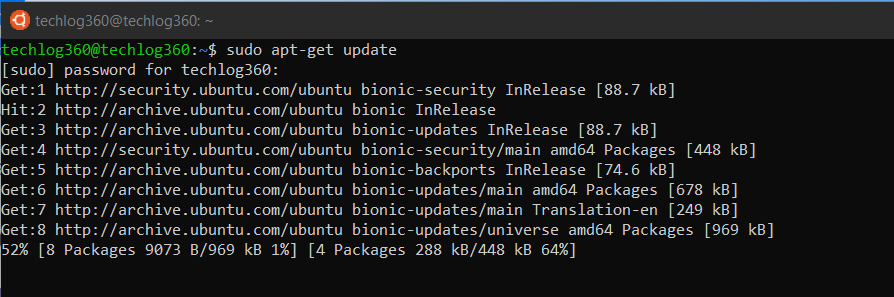
2. apt-get update
apt-get update with superuser privileges is the first command you need to run in any Linux system after a fresh install. This command updates the database and lets your system know if there are newer packages available or not.
sudo apt-get update
This command will fetch the package information from all configured sources and update the local package index.
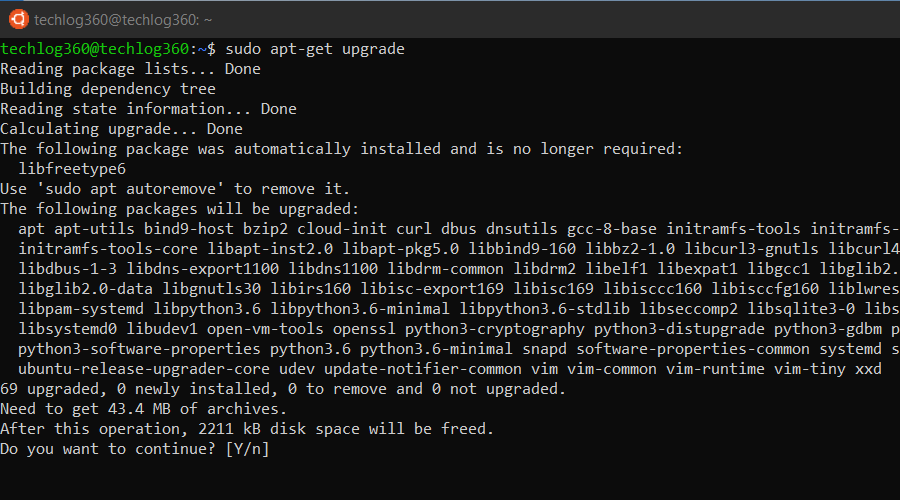
3. apt-get upgrade
After updating the package database, the next step is to upgrade the installed packages. For upgrading all the packages with available updates, you can use this command.
sudo apt-get upgrade
This command will upgrade all currently installed packages that have newer versions available in the repositories.
And if you like to upgrade a particular package, you should tweak the above command a little — use ‘apt-get upgrade <package-name>‘. For example:
sudo apt-get upgrade firefox
This basic Ubuntu command will only upgrade the Firefox package if a newer version is available.
4. apt-get dist-upgrade
This command is a more aggressive form of upgrade. It tries to intelligently handle the dependencies of the upgraded packages, even if it means removing certain packages. For example:
sudo apt-get dist-upgrade
This command will upgrade packages, and it will also handle changing dependencies with new versions of packages.
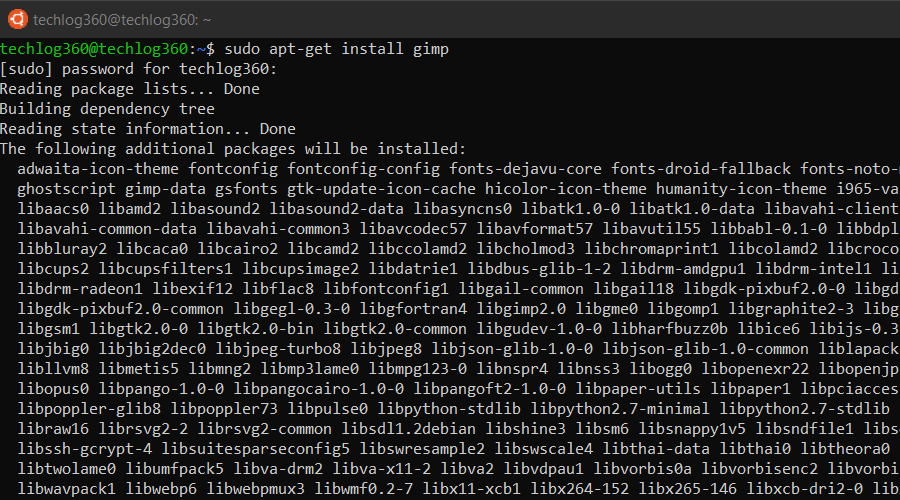
5. apt-get install
If you know the name of the package, then you can easily install a program using this command:
sudo apt-get install <package-name>
For example,
sudo apt-get install gimp
This command will install the Gimp package.
If you are not sure about the package name, you can type a few letters and press the tab, and it will suggest all the packages available with those letters. Thanks for the auto-completion feature.
You can also install multiple packages at once by providing their names separated by spaces. For example:
sudo apt-get install firefox thunderbird
This command will install both the Firefox and Thunderbird packages.
6. apt-get remove
When it comes to removing the installed program ‘apt-get remove‘ command suits your need. You only have to know the exact package name of the software you want to uninstall. If you don’t know the package name, use the below Ubuntu basic command to list all the packages installed on your system and then copy the package name from the list:
dpkg --list
Now run the apt-get remove command as sudo in order to remove the software:
sudo apt-get remove <package-name>
Replace the <package-name> with the one you copied from the dpkg list. For example:
sudo apt-get remove gimp
This command will remove the Gimp package but leave behind any configuration files.
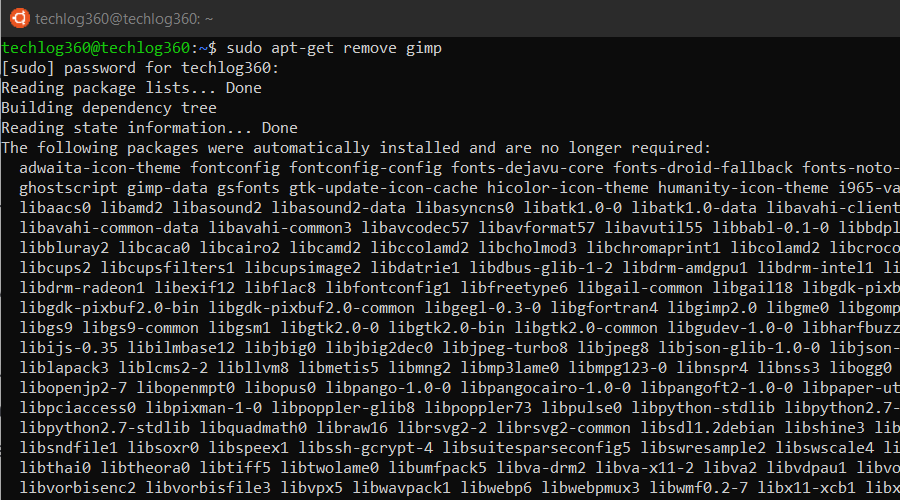
apt-get remove command only removes the software from your system but not the configuration or data files of the package. These files help in keeping the same settings when you want to reinstall the same software.
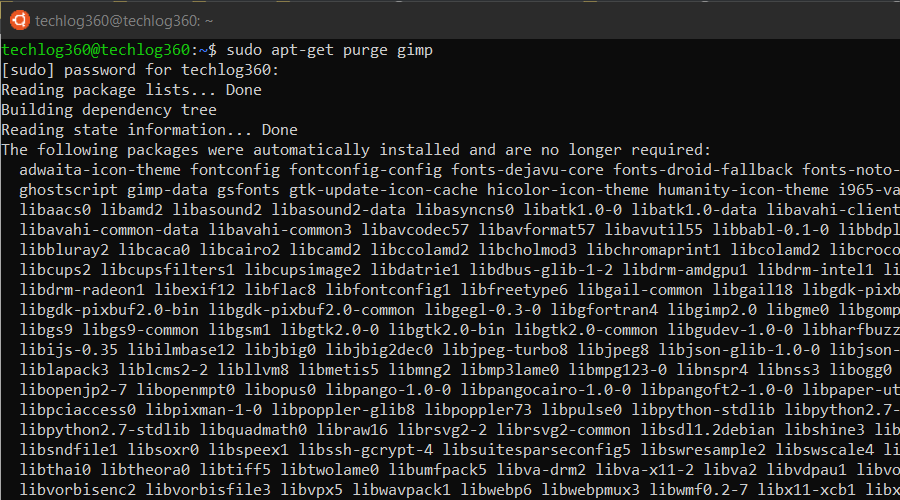
7. apt-get purge
apt-get purge command is used when you want to remove software completely from your system with its configuration or data files so that no longer personalized settings will be available during reinstallation.
Run the apt-get purge command as sudo in order to remove the software completely:
sudo apt-get purge <package-name>
Replace the <package-name> with the application that you want to remove or copied from the dpkg list. For example:
sudo apt-get purge gimp
This command will remove the Gimp package and its configuration files.
8. apt-get clean
This command clears out the local repository of retrieved package files, freeing up disk space. For example:
sudo apt-get clean
This command will remove all stored archive files from your cache.
9. apt-get autoclean
This command removes package files that can no longer be downloaded and are largely useless, helping to keep your system clean. For example:
sudo apt-get autoclean
This command will remove only those cache files that can no longer be downloaded from their sources.
10. apt-get autoremove
apt-get autoremove command is used to remove any unnecessary packages. Unnecessary means whenever you install an application, the system will also install the software that this application depends on. It is common in Ubuntu that applications share the same libraries. When you remove the application, the dependency will stay on your system.
So run apt-get autoremove as sudo after uninstalling a package to remove unwanted software dependencies.
sudo apt-get autoremove
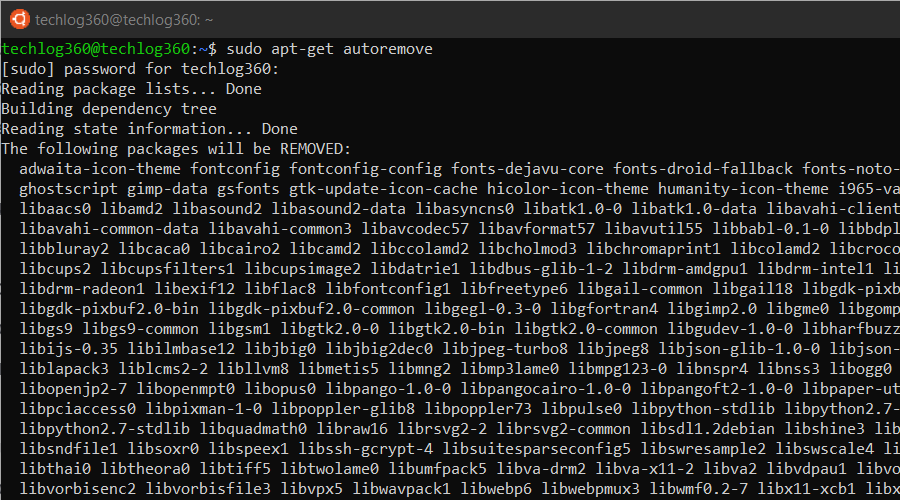
So apt-get autoremove will remove those dependencies that were installed with applications and that are no longer used by anything else on the system.
System Information Commands:
11. date
This simple command displays the current date and time, including the day of the week, month, time, time zone, and year. You can also manipulate the time zone and set specific dates and times using this command.
12. df
df (display filesystem) command displays information about the disk space usage of all mounted filesystems. When executed, the df command shows a table with the following information for each file system:
- Filesystem: the device or file system name
- Size: the total size of the file system
- Used: the amount of disk space used by files on the file system
- Available: the amount of disk space available for new files
- Use%: the percentage of the file system that is being used
- Mounted on: the mount point or directory where the file system is mounted

13. du
du (directory usage) command displays the size of a directory and all of its subdirectories. By default, the du command displays the sizes of all directories and files in bytes. However, you can use different options to change the output format. For example,
- You can use the “-h” option to display the sizes in a human-readable format, such as KB, MB, or GB.
- You can also use the “-s” option to display only the total size of a directory or file.
- The “-c” option can be used to display the total size of all the directories and files that are being analyzed.
14. free
free – Displays the amount of free space available on the system. When you run the free command in the terminal, it will output the following information:
- Total: The total amount of physical memory available in the system.
- Used: The amount of memory currently being used by the system.
- Free: The amount of memory currently available for new processes.
- Shared: The amount of memory shared between multiple processes.
- Buffers: The amount of memory used by the kernel for buffers.
- Cached: The amount of memory used by the kernel for caching data.
All these values are displayed in kilobytes (KB). The “free” command also provides a summary of the memory usage in the system, including the total amount of memory used, the total amount of memory free, and the total amount of memory available.
This information is useful for monitoring the system’s memory usage, especially if you are experiencing performance issues or running memory-intensive applications. You can also use the “free” command to check if you need to upgrade your system’s memory.
15. uname -a
uname -a – Provides a wide range of basic information about the system.
16. top
top – Displays the processes using the most system resources at any given time. “q” can be used to exit.
This command displays the amount of free and used memory in the system. For example, if you type free -h, it will display the total, used, and free memory in a human-readable format.
17. ps
This command provides information about the currently running processes. For example, ps aux will display a detailed list of all current processes.
18. uptime
This command provides information about how long the system has been running. If you type uptime in the terminal, it might display something like 18:31:05 up 1 day, 6 min, 1 user, load average: 0.00, 0.01, 0.05, which means the system has been running for 1 day and 6 minutes.
File Handling Commands in Ubuntu:
19. ls
ls (list) command in Ubuntu is used to list the contents of a directory. When you run the ls command in a terminal window, it displays the files and directories in the current working directory. By default, the ls command displays the file and directory names in a column format. It shows the file or directory names, their permissions, ownership information, and the date and time they were last modified.
Here are some commonly used options with the ls command:
- “-l”: Displays the contents of the directory in a long format, including details like permissions, ownership, and file size.
- “-a”: Displays all files and directories, including hidden ones that start with a dot (“.”)
- “-h”: Displays file sizes in a human-readable format (e.g. 1K, 2M, 3G)
- “-t”: Sorts the files and directories by modification time, with the most recently modified first
- “-r”: Reverses the order of the sort
For example, if you want to list all the files and directories in the current working directory in long format, you can use the command “ls -l“.
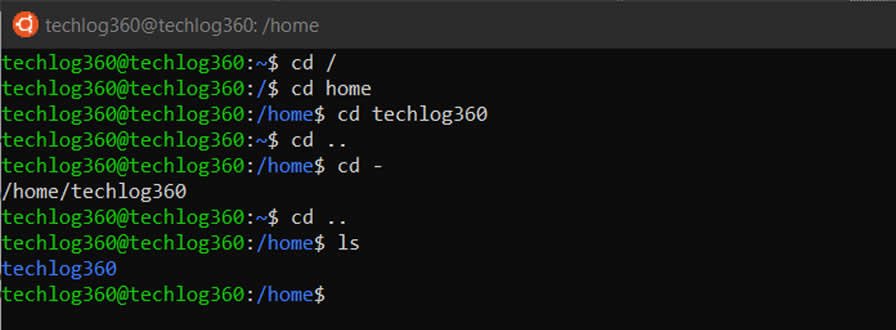
20. cd
cd (change director”) Linux command also known as chdir used to change the current working directory. It’s one of the most used basic Ubuntu commands. Using this command is easy, just type cd followed by the the folder name. You can use full paths to folders or simply the name of a folder within the directory you are currently working. Some common uses are:
- cd / – Takes you to the root directory.
- cd .. – Takes you up one directory level.
- cd – – Takes you to the previous directory.
Here are some examples to how to use cd command in Ubuntu:
Example 1: cd home – open home folder in current directory.
Example 2: cd Linux\ Drive – open Linux Drive named folder in directory. Here you can see I use backslash because the folder name has spaces so for each space you use “backslash+space”. Like, if your folder name is “am a programmer” then the cd command will be, “cd am\ a\ programmer“.
21. pwd
pwd (print working directory) Ubuntu command displays the full pathname of the current working directory. When you execute the pwd command, the shell returns the absolute pathname of the current directory. This is the directory in which you are currently working.
For example, if you are in the directory /home/user/documents, the pwd command will output /home/user/documents.
The pwd command is useful when you need to know the current directory, especially if you are working in a terminal and need to navigate to a specific directory using the cd command.
22. cp
cp (copy) Linux command allows you to copy a file. The basic syntax of the cp command is:
cp [options] source_file destination_file
Here, source_file is the file or directory that you want to copy, and destination_file is the location where you want to copy it.
Some commonly used options for the cp command are:
- -r or –recursive: This option is used to copy directories recursively.
- -i or –interactive: This option prompts the user before overwriting an existing file.
- -v or –verbose: This option displays detailed information about the copy operation.
Here are some examples of how to use the cp command:
To copy a file named file1 from the current directory to the directory /home/user1/:
cp file1 /home/user1/
To copy a directory named dir1 and all its contents to the directory /home/user1/:
cp -r dir1 /home/user1/
To copy a file named file1 from the current directory to the directory /home/user1/, and prompt the user before overwriting an existing file:
cp -i file1 /home/user1/
23. mv
mv (move) command allows you to move files. To use the mv command, you need to specify the file or directory you want to move, as well as the destination path where you want to move it. For example, if you want to move a file named “example.txt” from your home directory to a directory called “documents”, you would use the following command:
mv example.txt ~/documents/
The “~” character represents your home directory, so this command will move the file “example.txt” to the “documents” directory located in your home directory.
If you want to move a file to a different directory, you can use the mv command with the destination directory specified, like this:
mv file_name /path/to/new/directory/
Some common options you can use with the mv command include:
- -i: prompts you before overwriting an existing file
- -f: forces overwriting of existing files without prompting
- -v: displays verbose output, showing each file as it is moved
- -u: moves only when the source file is newer than the destination file
If you want to rename a file or directory, you can use the mv command as well. For example, if you want to rename a file called “oldname.txt” to “newname.txt”, you would use the following command:
mv oldname.txt newname.txt
This will rename the file “oldname.txt” to “newname.txt” in the same directory.
The mv command can also be used to move multiple files at once, or to move entire directories. You can use the “-i” option to prompt for confirmation before overwriting existing files, and the “-u” option to move only when the source file is newer than the destination file, ike this:
mv -i file1 file2 file3 /path/to/new/directory/
It’s important to be careful when using the mv command, especially when moving or renaming important files or directories, as it can overwrite or delete files without warning. Always double-check your command before executing it, and make sure you have a backup of important files before making any changes.
24. rm
rm (remove) command removes the specified file. The basic syntax for using the rm command is:
rm [options] [files or directories]
Here are some commonly used options:
- -r: recursively delete directories and their contents
- -f: force deletion without prompting for confirmation
- -i: prompt before every deletion
For example, to delete a file called “example.txt” in the current directory, you would use the following command:
rm example.txt
To delete multiple files:
rm file1.txt file2.txt file3.txt
To force the removal of a file without prompting for confirmation:
rm -f filename.txt
If you want to delete a directory called “mydir” and all its contents, you would use the following command:
rm -r mydir
It’s important to use the rm command with caution, as it permanently deletes files and directories without the ability to recover them. Always double-check what you are deleting and use the appropriate options to avoid accidental deletion.
25. rmdir
The rmdir (remove directory) command in Ubuntu is used to remove an empty directory from the filesystem. Here is the syntax of the rmdir command:
rmdir [option] [directory]
Some common options of the rmdir command are:
- -p: Remove the specified directory and its parent directories if they are also empty.
- -v: Print a message for each directory that is removed.
The command takes one or more directory names as arguments. If any of the directories contain files or other directories, the rmdir command will fail and produce an error message.
26. mkdir
mkdir (make directory) command allows you to create a new directory. Here is the basic syntax of the mkdir command:
mkdir [options] directory_name
In this syntax, “directory_name” is the name of the new directory that you want to create. You can also specify the location where you want to create the directory by including the path in front of the directory name. For example:
mkdir /home/username/new_directory
This command will create a new directory called “new_directory” in the “/home/username/” directory.
You can also use various options with the mkdir command to specify additional settings, such as:
- “-p”: This option allows you to create parent directories if they do not exist. For example:
mkdir -p /home/username/new_directory/sub_directory
This command will create a new directory called “new_directory” in the “/home/username/” directory, and a new sub-directory called “sub_directory” within the “new_directory” directory.
- “-m”: This option allows you to set permissions for the new directory. For example:
mkdir -m 755 /home/username/new_directory
This command will create a new directory called “new_directory” in the “/home/username/” directory and set the permissions to “755”.
27. cat
In Ubuntu, the cat (concatenate) command is a tool that lets you view file contents on your terminal. You can use it to display the contents of a single file, or multiple files, or to create new ones. To use “cat” to display the contents of a file, simply type cat followed by the file name:
cat filename.txt
This will display the contents of “filename.txt” on your terminal.
If you want to display the contents of multiple files, you can use the following command:
cat file1.txt file2.txt file3.txt
This will display the contents of all three files in the order they were listed.
You can also use cat to create a new file. For example, to create a file called “newfile.txt” with the contents “Hello, world!”, you can use the following command:
echo "Hello, world!" > newfile.txt
This will create a new file called “newfile.txt” with the contents “Hello, world!”. The “>” symbol redirects the output of the “echo” command to the file instead of the terminal.
28. less
less is also used to display the contents of a file in the terminal, but it provides more functionality than cat. With less, you can view the contents of a file one screen at a time, allowing you to easily scroll up and down through the file. Additionally, you can search for specific text within the file, navigate forwards and backwards through the file, and even view multiple files in a single less session.
You can then use various keyboard commands to navigate through the content. For example:
- Use the up and down arrow keys to scroll through the text line by line.
- Use the spacebar to scroll down one page at a time, or the “b” key to scroll up one page at a time.
- Use the “/” key followed by a search term to search for a specific string within the text.
- Use the “q” key to quit the “less” command and return to the terminal prompt.
Overall, less is more useful for viewing larger files or for working with multiple files, while cat is more straightforward for quickly viewing smaller files.
29. touch
touch command for Ubuntu beginners allows you to create empty files or update the timestamps of existing files. The basic syntax of the touch command is as follows:
touch [options] filename
Here, “filename” is the name of the file you want to create or update, and “options” are any additional parameters you want to pass to the command.
If the file doesn’t exist, touch creates an empty file with the specified filename. If the file already exists, touch updates the timestamps of the file to the current time. This is useful if you want to update the timestamp of a file without actually modifying its contents.
Some common options for the touch command include:
- -a: Change the access time of the file only.
- -m: Change the modification time of the file only.
- -t: This option allows you to specify a specific timestamp for the file, in the format [YYYY]MMDDhhmm[.ss].
- -c: This option suppresses the creation of a new file if the file does not already exist.
For example, to create a new file named “example.txt” in your current directory, you would use the following command:
touch example.txt
If you wanted to update the modification time of an existing file named “oldfile.txt”, you could use the following command:
touch -m oldfile.txt
And to set a specific timestamp for a file called myfile.txt, you can use the following command:
touch -t 202305071200.00 myfile.txt
This will set the timestamp of the file to May 7, 2023, at 12:00:00.
30. nano
nano command is a text editor that is commonly used in Ubuntu. It is a simple and user-friendly command-line tool that allows you to create, edit, and save text files. When you run the nano command followed by the filename of a text file, the nano editor opens up and displays the contents of the file. You can then make changes to the file using the keyboard and various keyboard shortcuts.
Some common keyboard shortcuts in nano include:
- Ctrl + G: Display the help menu
- Ctrl + X: Exit the editor
- Ctrl + O: Save the file
- Ctrl + W: Search for text in the file
- Ctrl + K: Cut a line of text
- Ctrl + U: Uncut a line of text
nano also supports syntax highlighting for various programming languages, making it easier to read and edit code. To enable syntax highlighting, you can use the -Y or –syntax option followed by the name of the programming language.
For example, to edit a Python script with syntax highlighting, you can use the following command:
nano -Y python myscript.py
Other Essential Commands for Ubuntu Beginners:
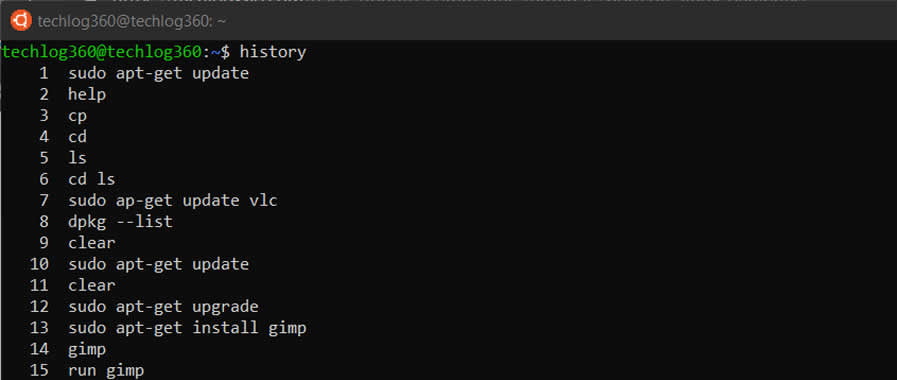
31. history
history command works by displaying a list of the previously executed commands, along with a unique number assigned to each command. By default, the history command displays the last 500 commands that were executed in the current shell session.
You can use the history command with different options to modify its behavior. For example, you can use the -c option to clear the history list, or the -w option to write the current history list to a file or the -a option to append new commands to the history file immediately instead of waiting until the end of the session.
32. man
man command displays a “manual page”. Manual pages are usually very detailed, and it’s recommended that you read the man pages for any command you are unfamiliar with. Some uses are :
- man man – Provides information about the manual itself.
- man intro – Displays a brief introduction to Linux commands.
33. info
Similar to man, but often provides more detailed or precise information.
34. <command name> -h or <command name> –help
This command is a third alternative to get help. While not as detailed as the info or man pages, this will provide a quick overview of the command and its uses.
For example: man -h or man -help
35. passwd
passwd Ubuntu basic command is used to change user password using Terminal. What you have to do is run the below command, where is the username whose password has to change:
passwd <user>
36. whatis
whatis command shows a brief description of what is the functionality of specific built-in Linux command.
whatis <command>
Some examples are:
- whatis cd
- whatis man
- whatis help
Above commands will display the purpose of cd, man and help commands.
37. sudo -I
This command is used to switch to the root user. After typing sudo -I, you’ll be asked to enter your password, and then you’ll be logged in as the root user.
38. exit
This command is used to exit the terminal. Simply typing exit will close the terminal.
39. shutdown
This command is used to shut down the system. For example, shutdown -h now will shut down the system immediately.
40. clear
This command is used to clear the terminal screen. Simply typing clear in the terminal will clear the screen.
Ubuntu Terminal Shortcuts for Beginners:
To further ease up your skill, these Ubuntu Terminal keyboard shortcuts would help.
| Ubuntu Terminal Shortcuts | Function |
|---|---|
| Ctrl + Shift + T | Open new tab on current terminal |
| Ctrl + Shift + W | Close the current tab |
| Ctrl + A | Move cursor to beginning of line |
| Ctrl + E | Move cursor to end of line |
| Ctrl + U | Clears the entire current line |
| Ctrl + K | Clears the command from the cursor right |
| Ctrl + W | Delete the word before the cursor |
| Ctrl + R | Allows you to search your history for commands matching what you have typed |
| Ctrl + C | Kill the current process |
| Ctrl + Z | Suspend the current process by sending the signal SIGSTOP |
| Ctrl + L | Clears the terminal output |
| Alt + F | Move forward one word |
| Alt + B | Move backward one word |
| Ctrl + Shift + C | Copy the highlighted command to the clipboard |
| Ctrl + Shift + V or Shift + Insert | Paste the contents of the clipboard |
| Up/Down Arrow keys | To scroll through your command history, allowing you to quickly execute the same command multiple times |
| TAB | Used to complete the command you are typing. If more than one command is possible, you can press it multiple times to scroll through the possible completions. If a very wide number of commands are possible, it can output a list of all possible completions. |
good one…thank you
Vry interesting post ! I like it !
hi bro
thank you very useful post.
Thank you so much. Bookmarked. Am an Ubuntu beginner and hopes it may help me to start my Terminal lessons….
Please post full list of Linux commands pdf like you done with Kali and CMD.
You forgot to add nano.
I’ve recently switched to cloudways from siteground and this list of basic SSH terminal commands are proven very helpful to me. thanks for the list, Sabarinath.
It is very useful! Thanks!
Thank you, useful info
Thanks
Very usefully, thank you for the content.
much helpful! thanks
just keep posting these types of valuable stuff. thanks.
Thanks for this great tutorial .If do you have more commands please share with us.
Thank you so much
maze aa gaye
Thanks for this great tutorial
Superb great work ..i have one more doubt i need to install TP link wirless adapter in UBUNTU without internet ,whether this can be done thru downloadable file..if so can u pls help to solve this issue
This was really helpful!!! Thanks
thanks for sharing this informations
Thank you for sharing useful content to me in simple manner
Thanks for a straightforward tutorial.
I get very powerful information on this website related to ubuntu. please sendings more basic commands of ubuntu. because I’m a newbie on ubuntu. I have started ubuntu, therefore, I should more information related to ubuntu commands. please sending more and more commands related to ubuntu. Thank you
I am brand spanking new to Linux and need an even more basic intro than what is presented here. For instance: what is a “package”? I have a good mind for programming (I pick it up easily, and it makes sense to me-I took a C++ course long long long ago), but have very little practical knowledge. I know what I want to do, but am having a hard time finding a resource for Ubuntu beginners that literally starts at the ground floor. I have slightly more than average know-how with windows computers (I know how to look for, search, and change directories from “command line”), can anyone point me to a good resource to get started? Thanks!
thanks a bunch
Thanks a lot it helped me a lot
thanks alot, btw how to unzip file in ubuntu?
Thank u sir
thank you so much sir it helped me a lot
Thanks
Thank you, this is so much help!
Thankyou very much !
thanks
Thanks for sharing, really helpful
Thank you very much. i am just ubuntu beginner. I find it very very useful. Thanks again.